
Things are starting to heat up! The High Temp Print Head pushes your Allevi bioprinter to the next level with a new max temperature of 255°C!
Warning
- When in use, the outside of this print head reaches a max of 130°C!
- Only handle a hot extruder with the provided gloves!
- Always assume a print head may be hot!
Technical Specifications
How to set up
Due to the high temperatures that this print head can reach, you must replace the original tubing and twist clip on your printer with the ones provided with your High Temp print head. To remove the original tubing, first identify the latch ring at the top of the tubing port. While pushing down on this ring to release the securing mechanism, pull the tubing out of the port. . Make sure that this tubing you replace matches up with the extruder you swap out for the high temp print head.
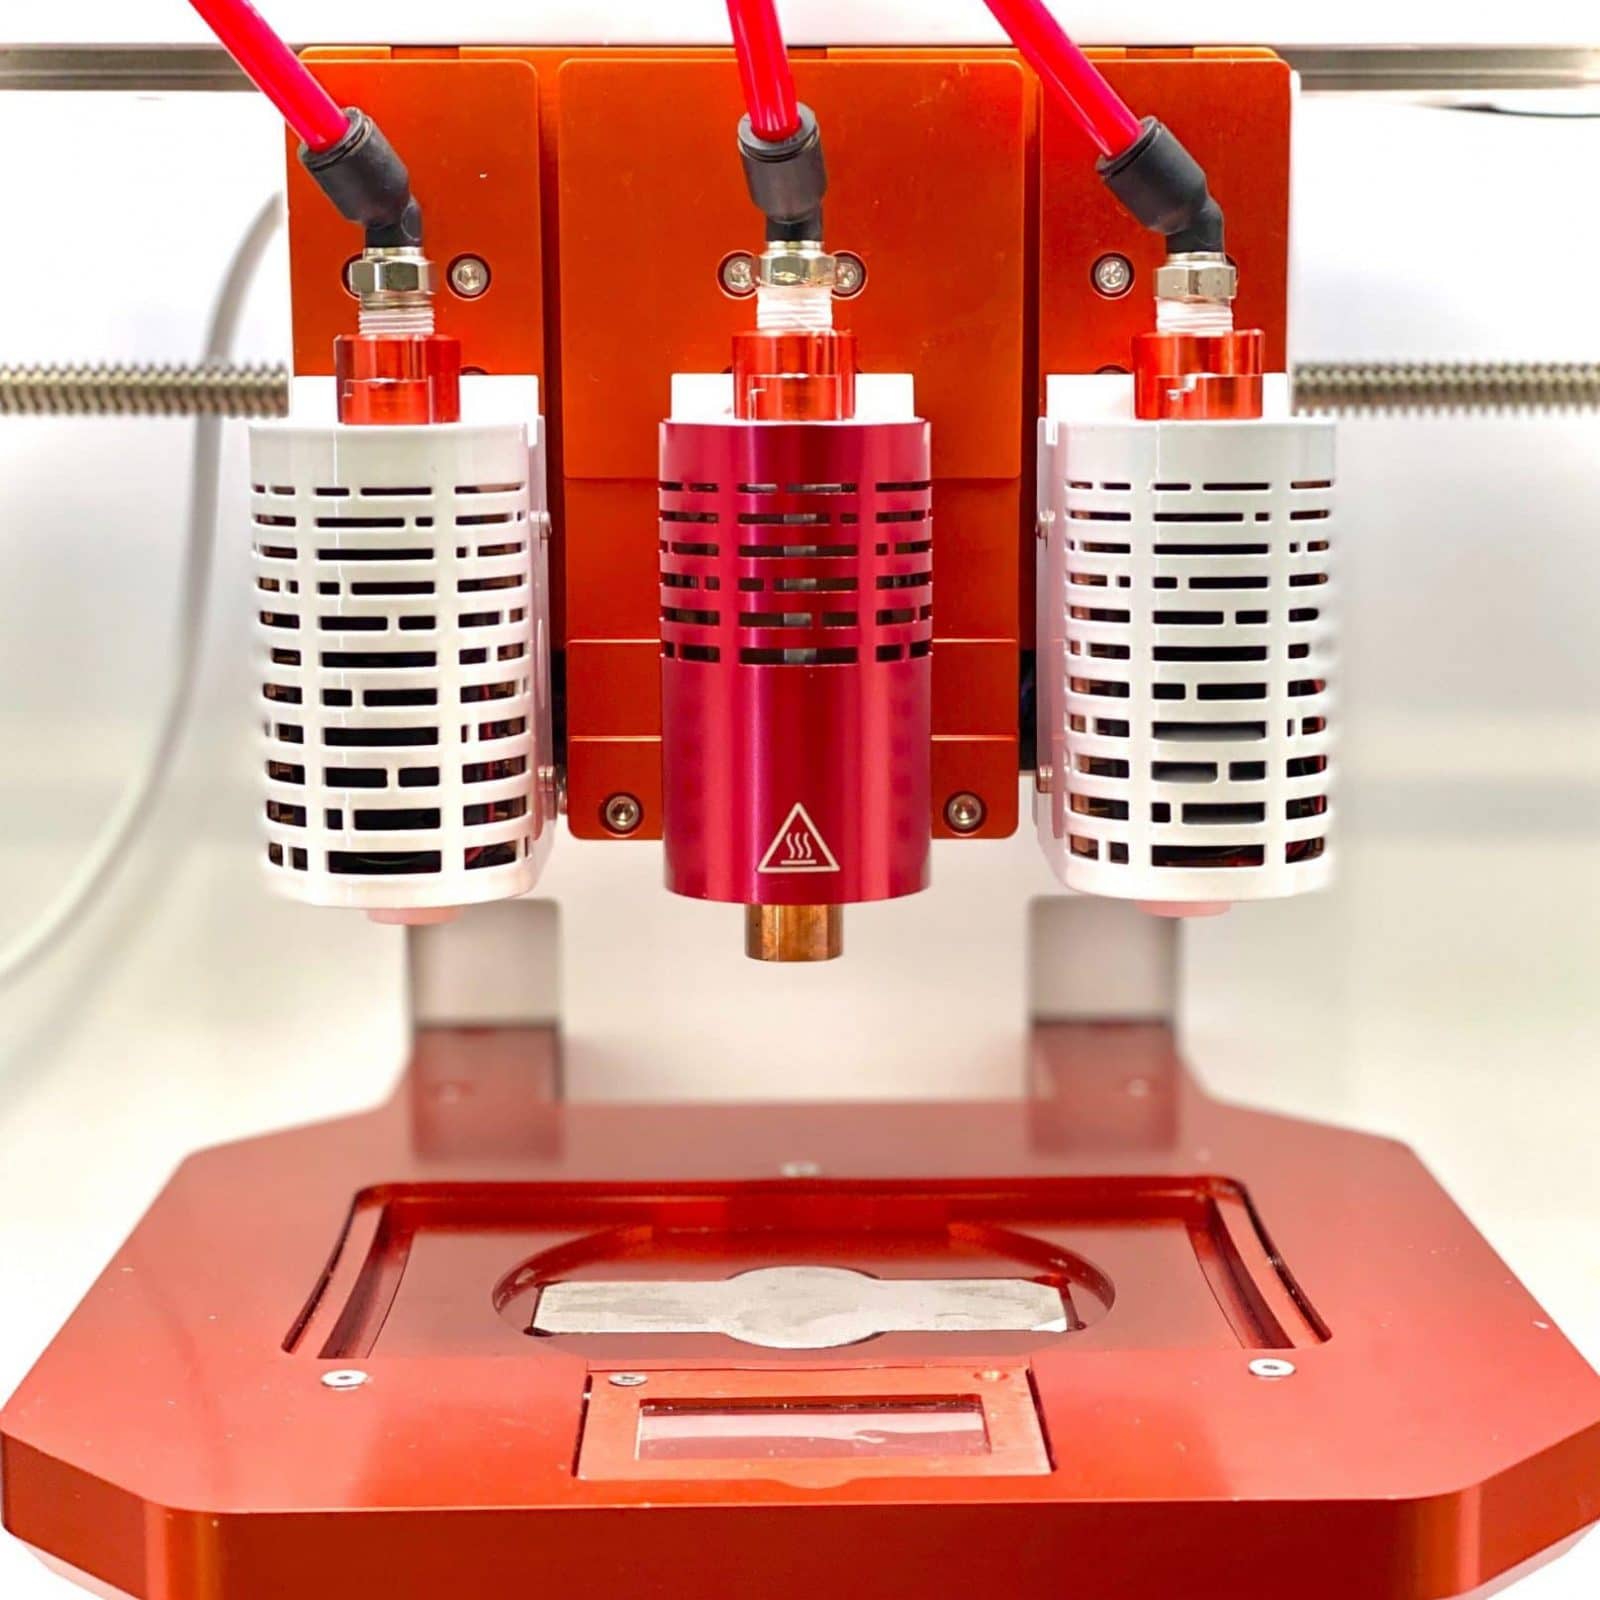
Similar to the CORE print head, the High Temp print head attaches magnetically to the printer.
How to load
The High Temp print head is designed for thermoplastic bioprinting. Because of this, it operates at relatively high temperatures which can melt plastic. Therefore, you should only print using metal syringes and full-metal needles.
To get started, load the pellets, powder, or paste of your material into the metal syringe. Make sure that it fills the bottom of the syringe. Attach a full metal needle firmly, using pliers to ensure a tight seal. Then, connect the wide end of the metal syringe to the High Temp twist cap. With the full metal tip connected to the syringe and the syringe connected to the air tubing via the twist cap, you can load the syringe system into the High Temp print head. The twist cap should lock into the High Temp print head just like a regular twist cap locks into a CORE print head by swooping the hooks of the twist cap under the shoulder screws on top of the extruder.
In order to achieve a proper viscosity for printing, you will need to preheat your material. This can vary from material to material, but we recommend 15-30 minutes at your print temperature. We recommend determining the correct preheating duration for your material before starting extensive printing.
How to print
Autocalibration and manual calibration function the same with the High Temp print head. For printer safety, autocalibration is disabled when the extruder temperature is above 200°C. Because of this, we recommend autocalibrating at the beginning of the preheating process.
Due to the temperature at the needle, your print surface cannot be plastic. Glass or metal build surfaces are good substitutes.
NOTE: Your printer may not be set to use glass or metal surfaces with autocalibration. Because of this, we recommend manual calibration. Improper use of autocalibration may result in broken build surfaces or needles. Please contact support@allevi3d.com with any questions or concerns.
How to clean
IMPORTANT: If you have just finished printing, your High Temperature print head may be hot for over 1 hour afterwards! Always assume an extruder may be hot and never handle a hot extruder without gloves.
Your thermoplastic should only contact the inside of the metal syringe and the metal tip so these are the only materials you should need to clean. To clean the metal syringe and full metal needle, place them in chloroform. If you want to sterilize the High Temp extruder, it also has an aluminum frame so you can use the standard UV and ethanol protocol. Additionally, the metal syringes and syringe tips are autoclavable.
Please contact support@allevi3d.com with any questions or concerns!

